Move-out • Updated Mar 15, 2026 • 14 min read
Move-out wall fixes: nail holes, anchors, and paint touch-up
During my first year doing move-out inspections, I learned something surprising: the tenants who tried hardest to fix wall damage often made it worse. I'd see someone patch a nail hole with toothpaste (it cracks and yellows), or fill an anchor hole with spackling compound but forget to sand it, leaving a visible bump that's harder to fix than the original hole. The ones who got their full deposit back? They usually did less, but did it right.
This guide covers the basics: small nail holes, drywall anchors, adhesive strip residue, and simple paint touch-ups. Always check your lease first—some landlords prefer to handle wall repairs themselves and will charge you if your attempt makes it look worse.
Your actual goal here is simpler than you think: make the wall look normal in typical room lighting. You're not trying to make it invisible under a flashlight held at an angle. Thin spackle layers, light sanding, and matching the paint sheen matter way more than packing a hole full of compound. I've seen tenants do a better job than professional painters just by being patient and doing two thin coats instead of one thick one.
Tools & supplies (simple kit)
- Lightweight spackle (easy to sand).
- Putty knife (small is fine).
- Fine sanding sponge (better control than rough sandpaper).
- Microfiber cloth (dust wipe after sanding).
- Small foam brush or mini roller (touch-ups blend better with a roller).
- Painter’s tape (clean edges, protects trim).
Before you start: ask this one question
Some landlords prefer to handle patch/paint themselves to keep walls consistent. If you’re unsure, a quick message like “Do you want me to patch small holes, or would you prefer to?” can prevent accidental over-repair.
Photo routine (deposit protection)
- Before photos: wide shot + close-up of each area.
- After photos: same angles after patching and after paint dries.
- Lighting check: look from the side with light raking across the wall—imperfections show up there.
Quick table: hole type → fix
| Damage | Typical cause | Fix |
|---|---|---|
| Pin holes | Thumbtacks | Light spackle, finger smooth, tiny touch-up |
| Small nail holes | Picture nails | Spackle, sand lightly, paint dab |
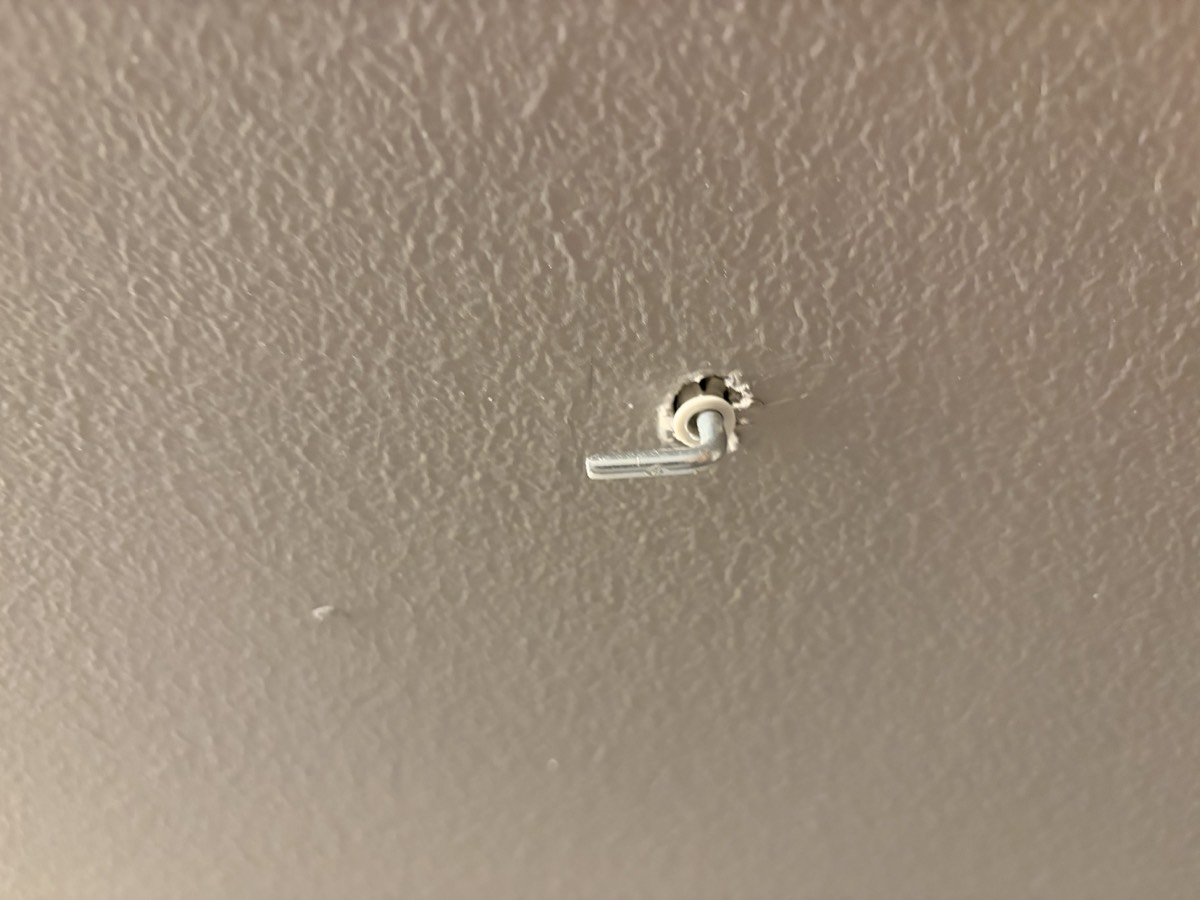
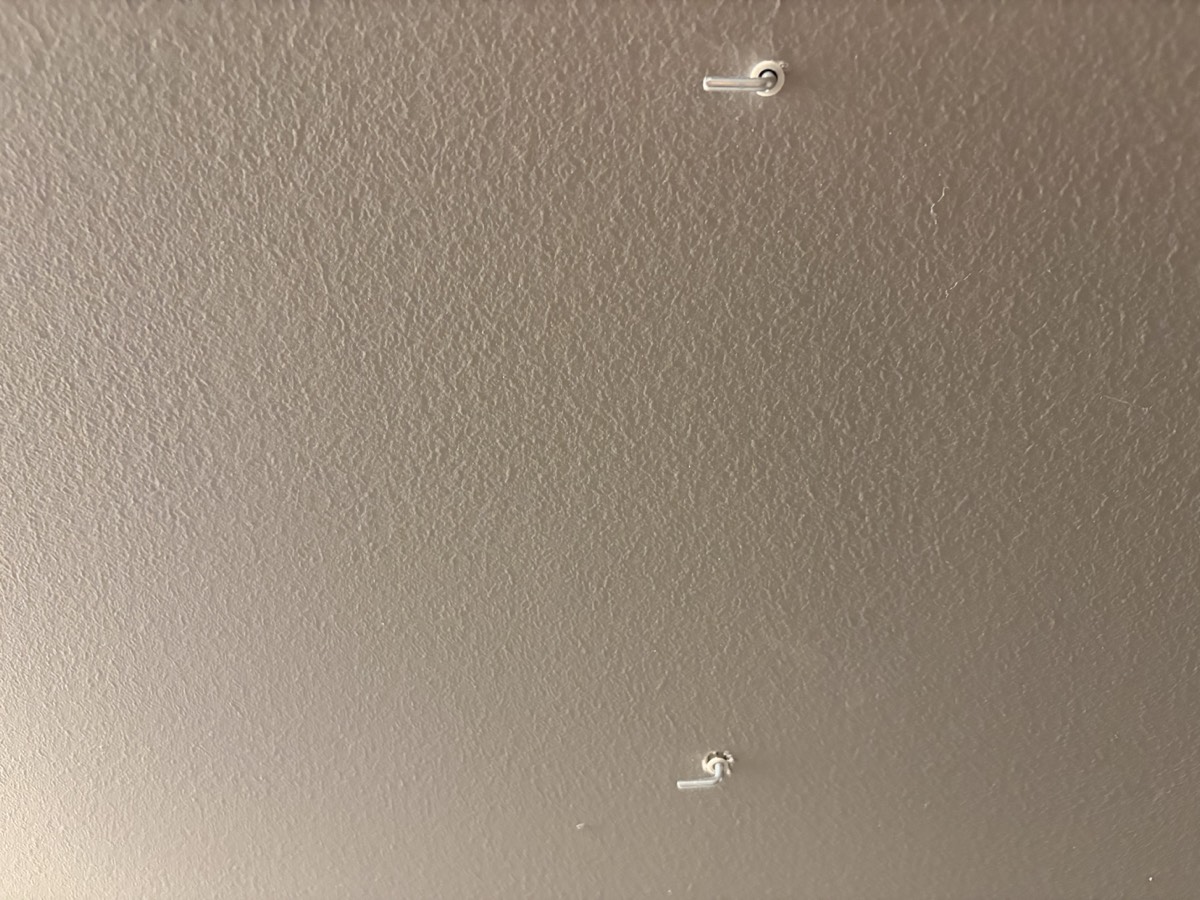
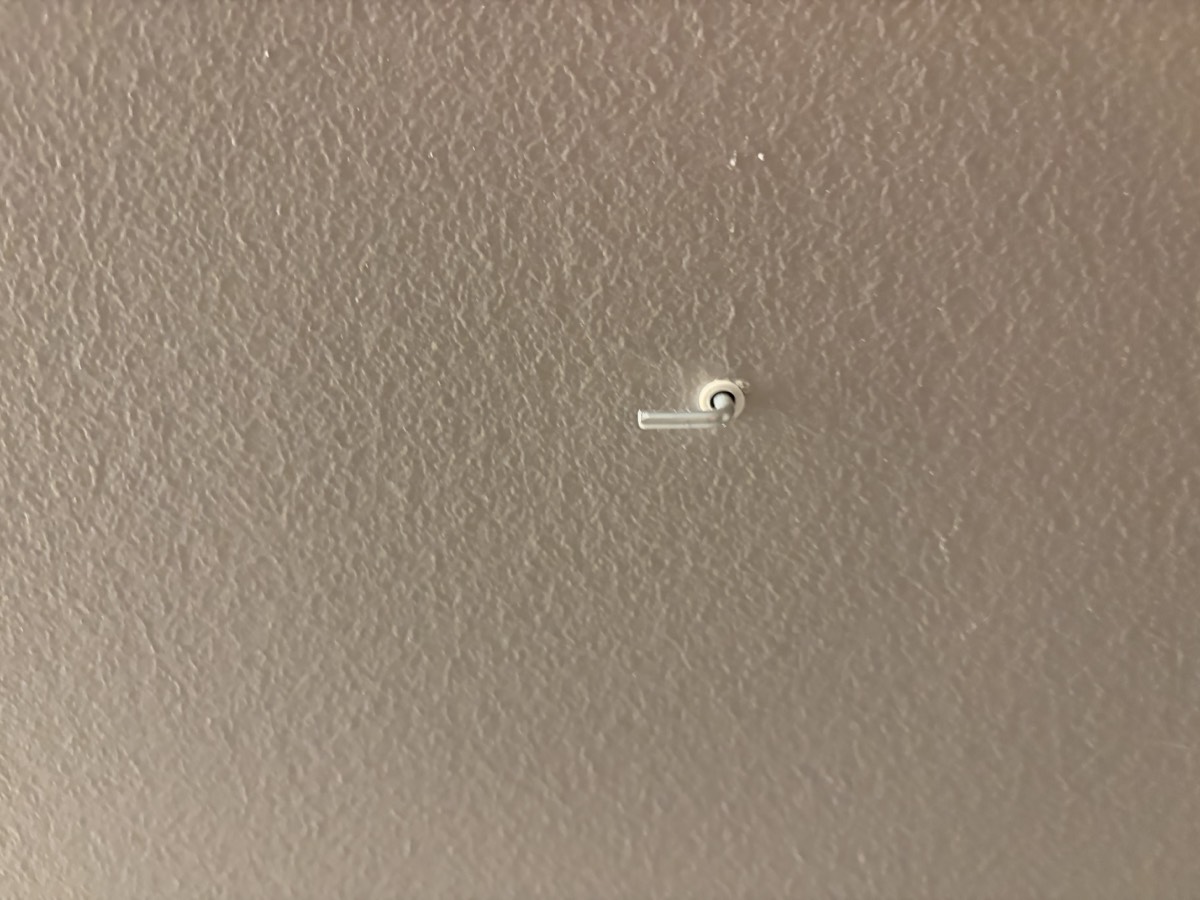
| Anchor holes | Drywall anchors | Remove carefully, patch, sand, paint |
| Paint scuffs | Furniture rub | Magic eraser (test!), or paint touch-up |
Step-by-step (basic)
- Take photos before you start (proof and reference).
- Remove anchors carefully (don't rip drywall paper).
- Patch with lightweight spackle (thin layers work better).
- Sand lightly once fully dry (feather edges).
- Paint touch-up: use a small roller/foam brush; dab/blend.
Step-by-step details (so it blends)
Pin holes / tiny nail holes
- Use a small dab of spackle and press it in with your finger.
- Wipe excess flush with the wall.
- Light sand only if needed.
Anchor holes
- Don’t rip: if the anchor won’t pull cleanly, stop—ripping drywall paper makes a bigger repair.
- Use thin spackle layers. Thick blobs shrink and create bumps.
- Feather edges with a sanding sponge so you don’t create a “plateau.”
Paint touch-up (the part that usually looks bad)
- Match sheen: flat vs eggshell vs satin is often more noticeable than color.
- Use a mini roller if the wall has texture—brush strokes stand out.
- Blend outward: don’t paint a hard square; feather into surrounding area.
Anchor removal notes (so you don’t make it worse)
- Plastic expansion anchors: if they won’t pull out cleanly, gently push them slightly into the wall so you can patch flush.
- Metal toggle anchors: don’t try to yank the toggle back through. Remove the screw and push the toggle into the wall cavity, then patch.
- When in doubt: stop and ask your landlord—some buildings want their own maintenance to handle anchors.
Adhesive strip cleanup (command hooks, etc.)
- Pull the tab straight down (not out) to reduce paint lift.
- Use gentle heat (hairdryer) if the adhesive feels stiff.
- Patch test cleaners: some removers can dull paint.
Paint matching cheat sheet
- Color match: if you can, get the building’s paint code or a small sample pot.
- Sheen match: flat/eggshell/satin matters a lot under light.
- Texture match: rollers mimic most wall texture better than brushes.
- Dry time: paint often dries a slightly different shade; judge after it fully dries.
Common “oops” that cost deposits
- Over-sanding and creating a flat spot.
- Painting too soon (spackle not fully dry).
- Wrong sheen that flashes under light.
- Using strong adhesives to mount items and tearing paint on removal.
I remember one move-out where a tenant had hung a heavy floating shelf with toggle bolts. When she pulled the shelf down, she yanked the toggles straight out, which ripped two ragged holes about the size of a quarter each, complete with torn drywall paper flapping around the edges. Then she tried to fix it with spackling compound—just mounded it on thick over the torn paper. By the time it dried, it looked like two white volcanos on the wall. I had to cut out the damaged drywall, set patches, tape, mud, sand, and repaint. That repair cost her more from her deposit than if she'd just left the shelf up and let us handle it. The lesson: if the hole is bigger than a pencil eraser and has torn paper around it, ask your landlord before attempting a fix.
When to stop and call maintenance / ask permission
- Large holes (bigger than a couple inches).
- Water damage or soft drywall.
- Cracks that keep growing (could indicate movement).
Move-out checklist (walls)
- Patch obvious holes and let them dry fully.
- Light sand and wipe dust.
- Touch up paint if you have a match (or ask landlord for paint code).
- Remove picture hooks and adhesive strips carefully (heat helps).
- Take final photos after everything dries.
Maintenance request template (copy/paste)
Subject: Move-out wall repair question / permission
Hi [Landlord/Office], I’m preparing for move-out and want to handle small wall holes properly. Do you prefer tenants patch/touch-up, or would you like maintenance to handle it? I can share photos of the areas. Thank you.
FAQ
- Should I paint the whole wall? Usually no—touch-ups are safer unless you have a perfect match and permission.
- What if I don’t have matching paint? Ask your landlord/office for the paint name/code or skip painting and just patch neatly.
- Are magic erasers safe? Patch test. They can dull paint if you scrub hard.
Common mistakes
- Over-sanding (creates a big flat spot).
- Painting too soon (spackle not dry).
- Using the wrong sheen (flat vs eggshell mismatch stands out).
Related guides
- Carpet stains: renter-safe removal
- Squeaky doors & sticking latches
- Door handles & locks: renter-safe fixes
- Renter maintenance checklist
- Renter Maintenance Handbook (start here)
Was this guide helpful? Have a correction or tip? Email info@renterfix.com.